
Flexmail: email marketing software for newsletters and automation.
Flexmail, the intuitive solution to stay connected with your audience: manage campaigns, guide your contacts through to purchase, and accelerate your business growth.

Get 30 days free

Your website gets noticed.
Now take it to the next level.
Join over 5,000 businesses across Europe that have chosen Flexmail: get noticed and nurture relationships through newsletters and targeted campaigns.






EMAIL MARKETING
Keep your customers coming back
Reach your contacts with the right message at the perfect time, from automated welcome emails to seasonal promotions. Build strong relationships that drive repeat purchases.
Stand-out with professional, on-brand email
Choose a pre-designed template and customize it with the drag-and-drop editor: create campaigns that look perfect on any device and keep your audience engaged.
Lead customers with personalized automation
Welcome new subscribers and re-engage existing customers. Thanks to automated workflows, your messages adapt to your recipients' behavior.
Know your customers' needs
Analyze your users' clicks and segment lists based on their interests. This allows you to send targeted emails that speak directly to what matters to them.
Start your free trial
EMAIL MARKETING
Keep your customers coming backReach your contacts with the right message at the perfect time, from automated welcome emails to seasonal promotions. Build strong relationships that drive repeat purchases.
Stand-out with professional, on-brand email
Choose a pre-designed template and customize it with the drag-and-drop editor: create campaigns that look perfect on any device and keep your audience engaged.
Lead customers with personalized automation
Welcome new subscribers and re-engage existing customers. Thanks to automated workflows, your messages adapt to your recipients' behavior.
Know your customers' needs
Analyze your users' clicks and segment lists based on their interests. This allows you to send targeted emails that speak directly to what matters to them.
Start your free trial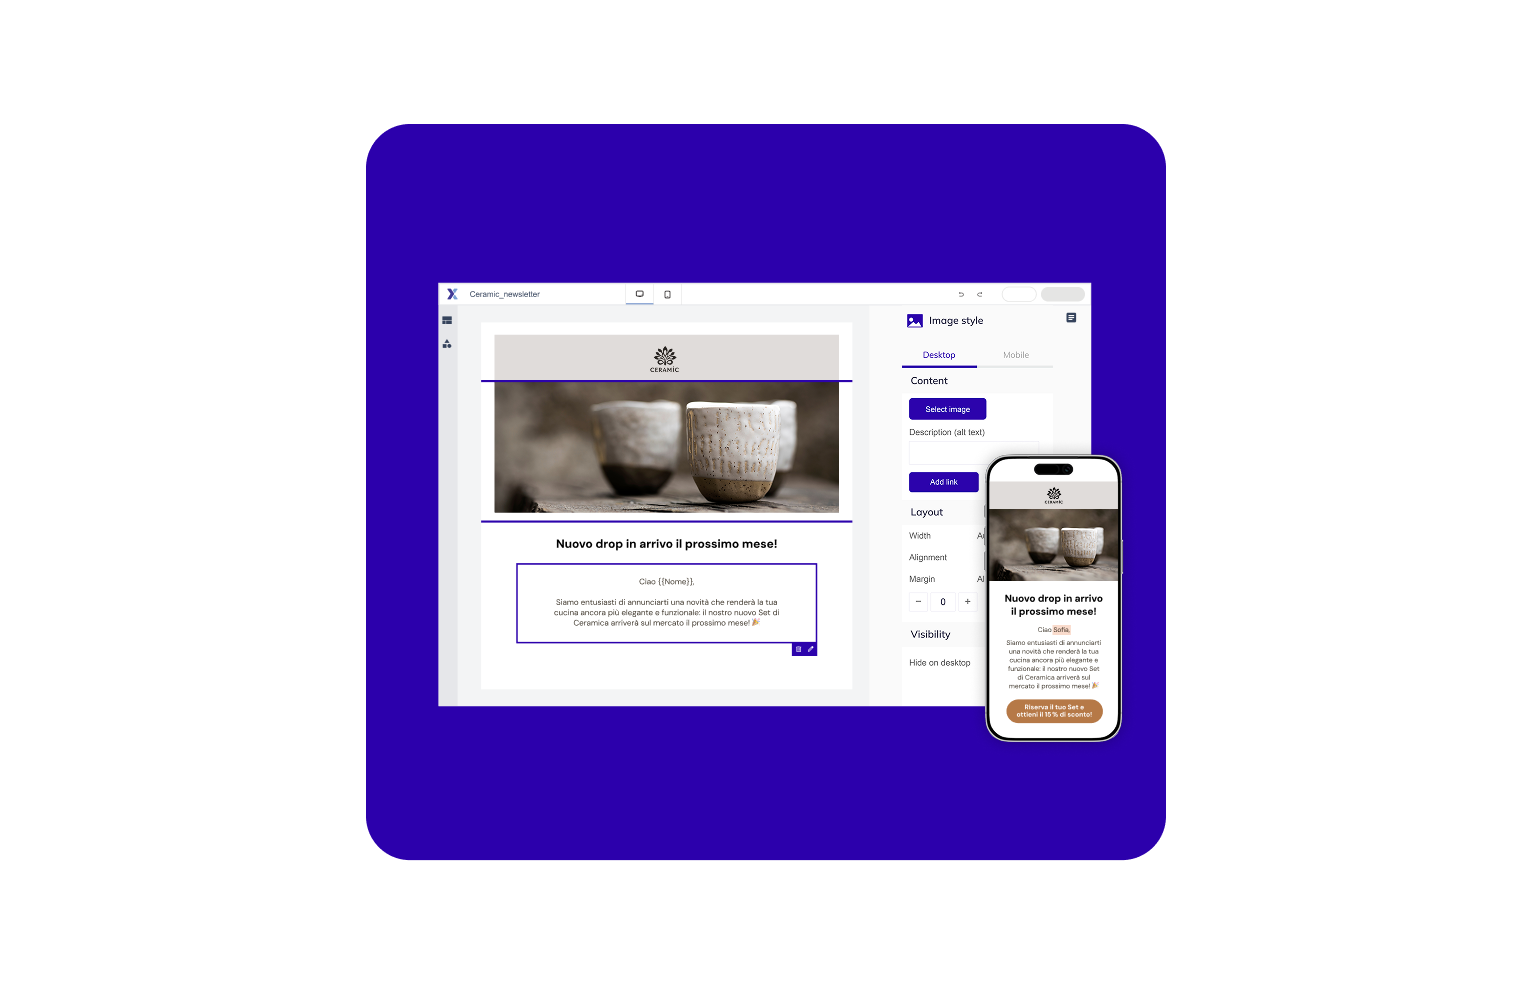
TRANSACTIONAL EMAIL
Deliver the emails that matter most, in seconds
Expected emails are vital touchpoints. Make the most of them: set up automated sends based on user actions.
Build trust with every sale
Order and payment confirmations are sent immediately after purchase, reinforcing buyers' trust in your brand.
Ensure security and instant support
Password resets, login alerts, and account updates are always on time: your customers never wait, and your support team can focus on what matters.
Efficiency and transparency with timely notifications and invoices
Shipping updates, invoices, and renewal reminders are sent automatically, keeping your contacts informed and positioning your brand as a benchmark of reliability.
Start your free trial
TRANSACTIONAL EMAIL
Deliver the emails that matter most, in secondsExpected emails are vital touchpoints. Make the most of them: set up automated sends based on user actions.
Build trust with every sale
Order and payment confirmations are sent immediately after purchase, reinforcing buyers' trust in your brand.
Ensure security and instant support
Password resets, login alerts, and account updates are always on time: your customers never wait, and your support team can focus on what matters.
Efficiency and transparency with timely notifications and invoices
Shipping updates, invoices, and renewal reminders are sent automatically, keeping your contacts informed and positioning your brand as a benchmark of reliability.
Start your free trial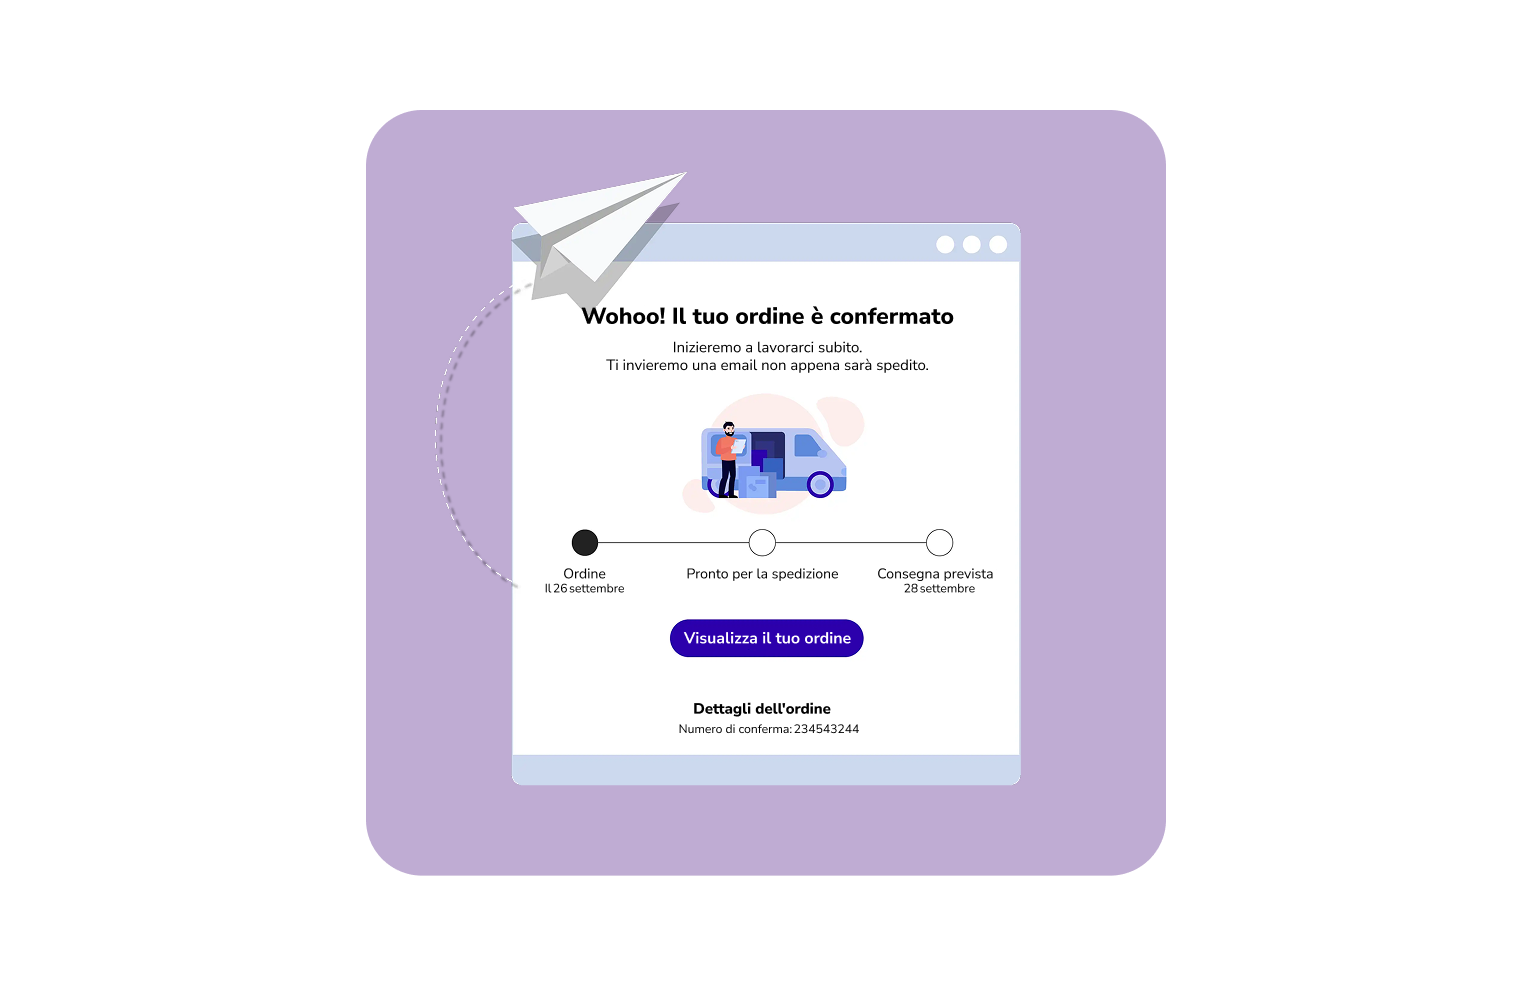
AI-POWERED 
Write emails your customers can't ignore
Stand out in every inbox with built-in AI tools that help shape the right message to the right customers in less time.
Optimize your subject lines
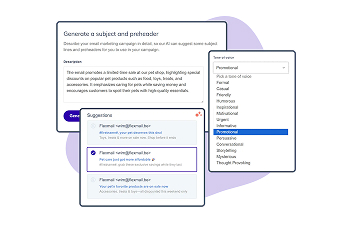
Standing out in a crowded inbox is the ultimate challenge. Built-in AI helps you brainstorm and test variations for your subject lines and preheaders, driving users to open your emails and click.
Write content with AI Suggestions
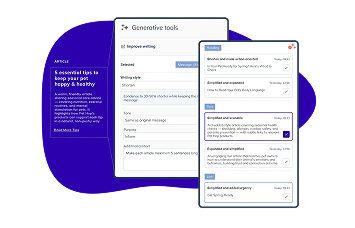
Artificial Intelligence works for you: starting from a draft, the editor generates text in different "tones of voice" based on proven conversion techniques to ensure maximum impact.
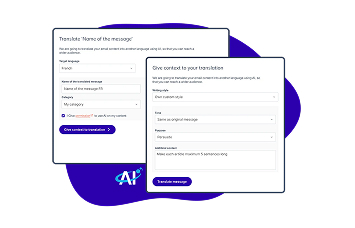
Speak every language with the built-in translator
Reach different audiences by communicating in multiple languages. The AI translates your messages instantly while maintaining the original tone, without the need for external tools.
Explore all Flexmail features
 |  |
 |
 |
 |
 |
|
|---|---|---|---|---|---|---|
| AI subject line generator | ||||||
| AI translate | ||||||
| Generative AI copy | ||||||
| Pre-built automation templates | ||||||
| A/B testing | ||||||
| Custom report builder | * | * | ||||
| Integrated surveys & quizzes | ||||||
| Contact-centric database | ||||||
| Click heatmaps | * | |||||
| Transactional email relay | * | |||||
| ISO 27001 certification (security of information systems) | * | |||||
| ISO 27701 certification (privacy management and data protection) |
Please note: features marked with * are available but may require an additional cost or have limited functionality.
Why choose Flexmail
Site, email, hosting: everything in one place
Manage your website, hosting, and email marketing from a single platform, with dedicated support from an Italian team and the security of data stored in Europe, in full compliance with GDPR.
Simple to start, built to grow
Get your first campaign online in minutes thanks to intuitive features and the drag-and-drop email editor. No technical skills required, and your messages are optimized to look perfect on every screen.
Emails that always land in the right inbox
Marketing and transactional emails run on separate infrastructures, ensuring that your promotional campaigns will never impact the delivery of critical messages like order confirmations or password resets.
Dedicated support in Italian
Our team of experts is at your disposal to guide you from setting up your very first campaign to implementing the most advanced automations. We are here to help you get the most out of your email marketing strategies.
Choose your free trial
Email Marketing, Transactional, or both?
Discover our solutions designed to meet all your communication needs. Select the product you want and explore the details:
|
Flexmail Start |
Flexmail Essential |
Flexmail Pro |
|
|---|---|---|---|
|
|
|
|
|
| Included users | 1 | 10 | 15 |
| Custom fields | 5 | 25 | 50 |
| API calls included | 1.000 | 1.000 | 10.000 |
| Max sends/month | Unlimited | Unlimited | Unlimited |
| Max sends/day | Unlimited | Unlimited | Unlimited |
To manage automated notifications, password resets, and order confirmations. Choose the package that best fits your needs and pay a flat monthly fee based on your sending volume.
|
Start |
|
|---|---|
| Number of emails per month | Monthly price |
| 20,000 | €11.00 |
| 50,000 | €27.00 |
| 100,000 | €51.00 |
| 250,000 | €124.00 |
| 30 days to discover the product with no commitment* | *FREE TRIAL |
*The free trial includes only the 1,000-contact plan and lasts for 30 days. At the end of the 30-day period, the trial solutions will automatically renew at the pricelist.
You can independently deactivate the free trial service from your control panel up to 5 days before the expiration date.
Discover all features Contact us for custom solutions
Email Marketing Service Order
General Terms & Conditions
FAQ
-
What is Flexmail?
Flexmail is a European email marketing platform for businesses that take email seriously. Send newsletters, build automated flows, and manage your contacts — with your data stored on European servers.
-
Why should I choose Flexmail over tools like Mailchimp or MailerLite?
Flexmail is fully GDPR-compliant, ISO 27001 and ISO 27701 certified, with data hosted exclusively on European servers. You get personal support in your own language, no hidden costs, and a platform that grows with you.
-
Can I set up abandoned cart automations ?
Flexmail doesn't have built-in webshop connectors for cart behaviour, so abandoned cart flows aren't possible.
-
Can I use purchase or order data in my campaigns?
Not directly. Flexmail doesn't have a native connection with webshop platforms. However, via the API you can link data to your contacts using custom fields — which opens up possibilities for more targeted campaigns based on customer information you pass through yourself.
-
How do I set up my brand kit?
The Brand kit is where you store your brand's visual identity — logo, colours and fonts. Once set up, these are automatically applied every time you create a new email. To set it up:
- Go to Settings, then Brand kit
- Upload your logo and add your brand colours using their HEX codes
- Set your preferred fonts for headings and body text
- Click Save
-
How do I use the email builder?
The Email builder is Flexmail's drag-and-drop editor. It produces mobile-optimised emails automatically and requires no coding knowledge.
To create a new message:
- Go to Campaigns , then Messages and click Create new message
- Click Start building in the Email builder section
- Choose a template to start from or begin with a blank canvas
- Give your message a name and click Start building
Building your email:
- Structures — drag a column layout onto the canvas to define each row
- Elements — drag content into your structures: text, images, and more
- Personalisation — add contact data like first name using placeholders
Before sending:
- Use the desktop/mobile toggle to check how the email looks on the devices
- Click Preview to see your message with real contact data applied
- Click Message Check to run a spam analysis and check rendering
-
How do I import my contacts?
Before you can send your first campaign, you need to add your contacts to Flexmail. The quickest way is uploading a CSV file, but you can also add contacts one by one or connect via API.
To import a CSV file:- Go to Contacts, then All contacts and click Add contacts
- Select Upload a file and choose your CSV
- Map each column to the correct Flexmail field
- Confirm you have the right to email these contacts
- Click Import
Validating your sender address- Go to Settings, then Add or remove senders
- Click Add a new sender and enter the email address
- Flexmail sends a confirmation email to that address — the owner of that inbox needs to open it and click Verify my email address
- Once verified, you're ready to send from that address
Setting up email authentication
After validating your sender address, set up email authentication. This tells receiving mail servers like Gmail and Outlook that your emails are legitimate — helping them land in the inbox rather than the spam folder.
-
How do I create and send my first campaign?
To create an email campaign:
- Go to Campaigns, then Manage Campaigns and press Create New Campaign.
- Enter the campaign name, subject, and choose the sender's address.
- Select the message to send.
- Choose the recipient contacts or segments.
Review the summary:- Check your tracking settings;
- Make sure a text version of the message is available.
- Decide when to send the campaign (immediately or scheduled).
Support tip: In the same section, choose Test Campaign to send a test to yourself before sending it out in bulk.
-
How do I set up an automation workflow?
A workflow is a sequence of automated emails that runs based on what your contacts do — no manual follow‑up needed. Before you start, make sure all the messages you want to send are ready in Campaigns, then Messages.
To create a workflow:
- Go to Automation, then Workflows and click Add new workflow
- Enter a name and choose a template for common scenarios like welcome series and re‑engagement flows — or start from scratch
- Configure your start trigger. Choose what causes contacts to enter the workflow, such as subscribing via a form or clicking a link
- Add a Send campaign block. Choose the message and set when it goes out
- Add a Wait block to set a delay before the next email
- When ready, click Start workflow
-
How do I use interests and segments to send more relevant emails?
Interests are labels you attach to contacts to track what they care about. Segments are filters that let you group contacts based on those interests — so you can send the right email to the right person every time.
Step 1: Create your interests:
- Go to Contacts, then Interests and click Add interest
- Enter a name and choose Public as the visibility
- Add a label and description so contacts know what they're signing up for
- Click Save interest
Step 2: Assign interests to your contacts:
- The quickest way is during import. Add an Interests column to your CSV file with the interest name and map it during the import flow.
- You can also ask contacts to update their own preferences by sending them a link to their profile page.
Step 3: Create segments based on interests
- Go to Contacts, then Segments and click Add segment
- Add a condition: Interest → Subscribed → [interest name]
- Your segment updates automatically as contact data changes
Step 4: Use your segments in campaigns
- When creating a campaign, select your interest‑based segment as the recipient group, so only contacts who want that content receive it.
Please note: We are currently working on an updated version of our manuals and guides in Italian, which will be available shortly. For more guides, please visit the Support Flexmail page.